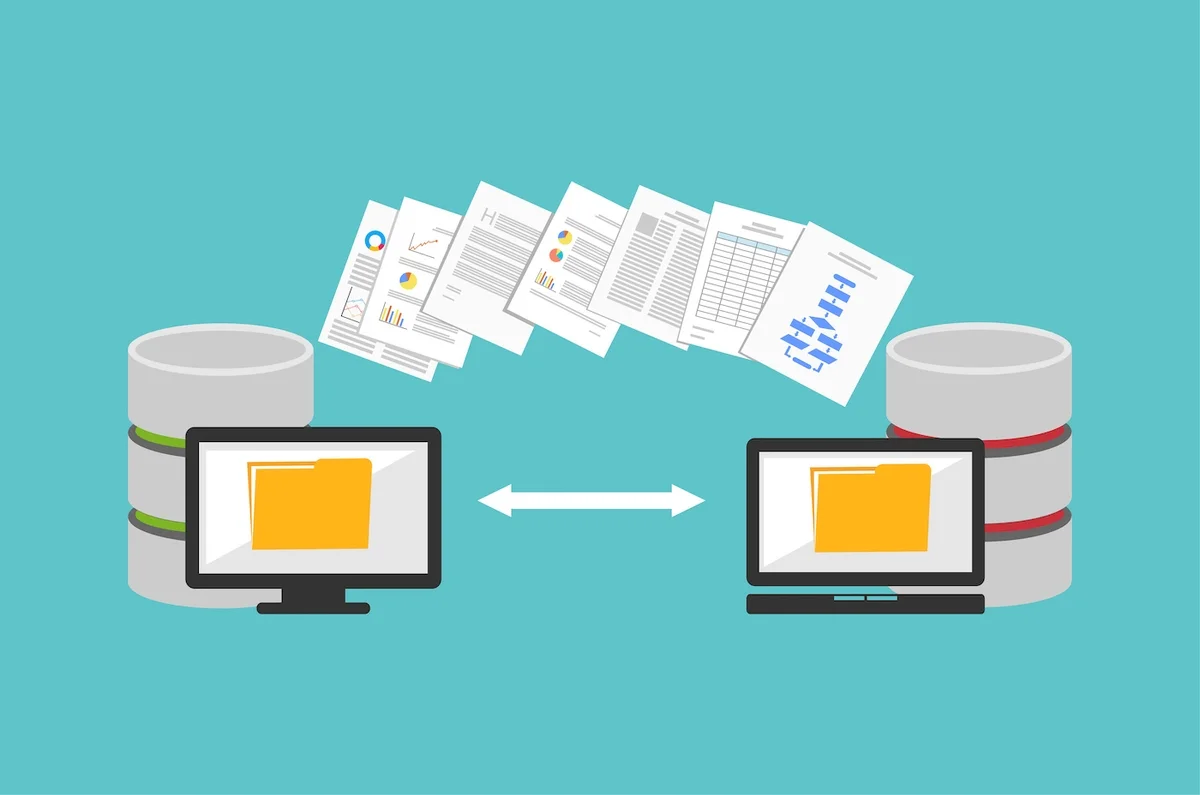
Switching your website to a new hosting provider can seem like a daunting task, but with the right preparation and steps, it can be a seamless process. Whether you’re moving for better performance, cost-effectiveness, or better features, these tips will help you migrate without disrupting your website’s functionality.
At cheaphosting.pk, we offer free cPanel migration on all our web hosting plans, ensuring a hassle-free experience when switching to our services.
1. Choose the Right Hosting Provider
Before migrating, ensure your new hosting provider meets your website’s requirements. Whether you need web hosting, VPS hosting, WordPress hosting, or specific options like ecommerce hosting, Python hosting, or Node.js hosting, pick a provider that supports your needs.
Cheaphosting.pk offers a wide range of hosting solutions, including Windows hosting, ASP.NET hosting, MySQL hosting, and MSSQL hosting, making it a reliable choice for websites of all types.
2. Backup Your Website
Before initiating the migration, take a complete backup of your website files, databases, and email accounts.
- For cPanel users, use the Backup Wizard to generate and download backups.
- If you’re using WordPress, plugins like UpdraftPlus can automate this process.
Pro Tip: Even if your new host promises a smooth migration, keeping a personal backup ensures you can recover your site in case of any issues.
3. Verify Compatibility
Ensure that your website is compatible with the new hosting environment. For instance:
- If you’re moving a PHP or Python application, confirm that the hosting plan supports the required versions.
- For Node.js hosting, ensure the correct runtime is available.
- For Windows hosting or ASP.NET hosting, check for support for frameworks like .NET Core or .NET Framework.
4. Plan for Downtime
Website migrations can cause temporary downtime. To minimize disruptions:
- Schedule the migration during low-traffic hours.
- Notify your visitors of the downtime in advance.
- Use a temporary “Under Maintenance” page during the transition.
Cheaphosting.pk ensures minimal downtime during migration, especially for businesses running critical applications like ecommerce hosting or MSSQL hosting.
5. Update DNS Settings
After migrating your files and databases, update your DNS records to point to the new server.
- Log in to your domain registrar and update the nameservers provided by your new host.
- DNS propagation can take 24–48 hours, so plan accordingly.
6. Test Your Website
Once the migration is complete:
- Test all pages to ensure proper functionality.
- Check forms, images, and scripts for errors.
- Verify database connections, especially for MySQL hosting and MSSQL hosting.
7. Redirect Old URLs
If your website structure has changed during the migration, use 301 redirects to avoid broken links. This is crucial for maintaining SEO rankings and ensuring a seamless user experience.
Why Choose Cheaphosting.pk for Your Website Migration?
At cheaphosting.pk, we take the hassle out of website migration with:
- Free cPanel Migration: Transfer all your website files, databases, and emails without any cost.
- Expert Support: Our team ensures a smooth transition with minimal downtime.
- Wide Range of Hosting Plans: From cheap hosting to enterprise solutions like ecommerce hosting, we’ve got you covered.
Conclusion
Website migration doesn’t have to be a stressful experience. By following these tips and partnering with a reliable provider like cheaphosting.pk, you can ensure a smooth, efficient transition. With free cPanel migration on all plans, it’s never been easier to upgrade your hosting experience.


